This web site might comprise affiliate hyperlinks and promoting in order that we will present recipes to you. Learn my disclosure coverage.
You wish to make bread, however the place do you begin? My newbie’s information to baking bread is right here to save lots of the day! Really feel assured at bread-making whereas I maintain your hand by means of the entire course of.
Nothing beats a contemporary loaf of do-it-yourself bread slathered with do-it-yourself jam! You can begin with this easy no-knead bread, or transfer all the best way into sourdough bread territory. The kind of bread you make will decide the elements, method, and time.

Causes You’ll Wish to Make Bread
- Selfmade Bread is the BEST: Heat do-it-yourself bread contemporary from the oven is everybody’s love language! There’s nothing prefer it!
- I’ll HELP You: This informative put up will allow you to really feel assured in bread-making! I stroll you thru all of the steps and reply your whole questions.
- Selfmade VS. Storebought: Selfmade bread tastes higher than storebought, is cheaper to make, and is made with higher elements.
Let’s Make Bread!
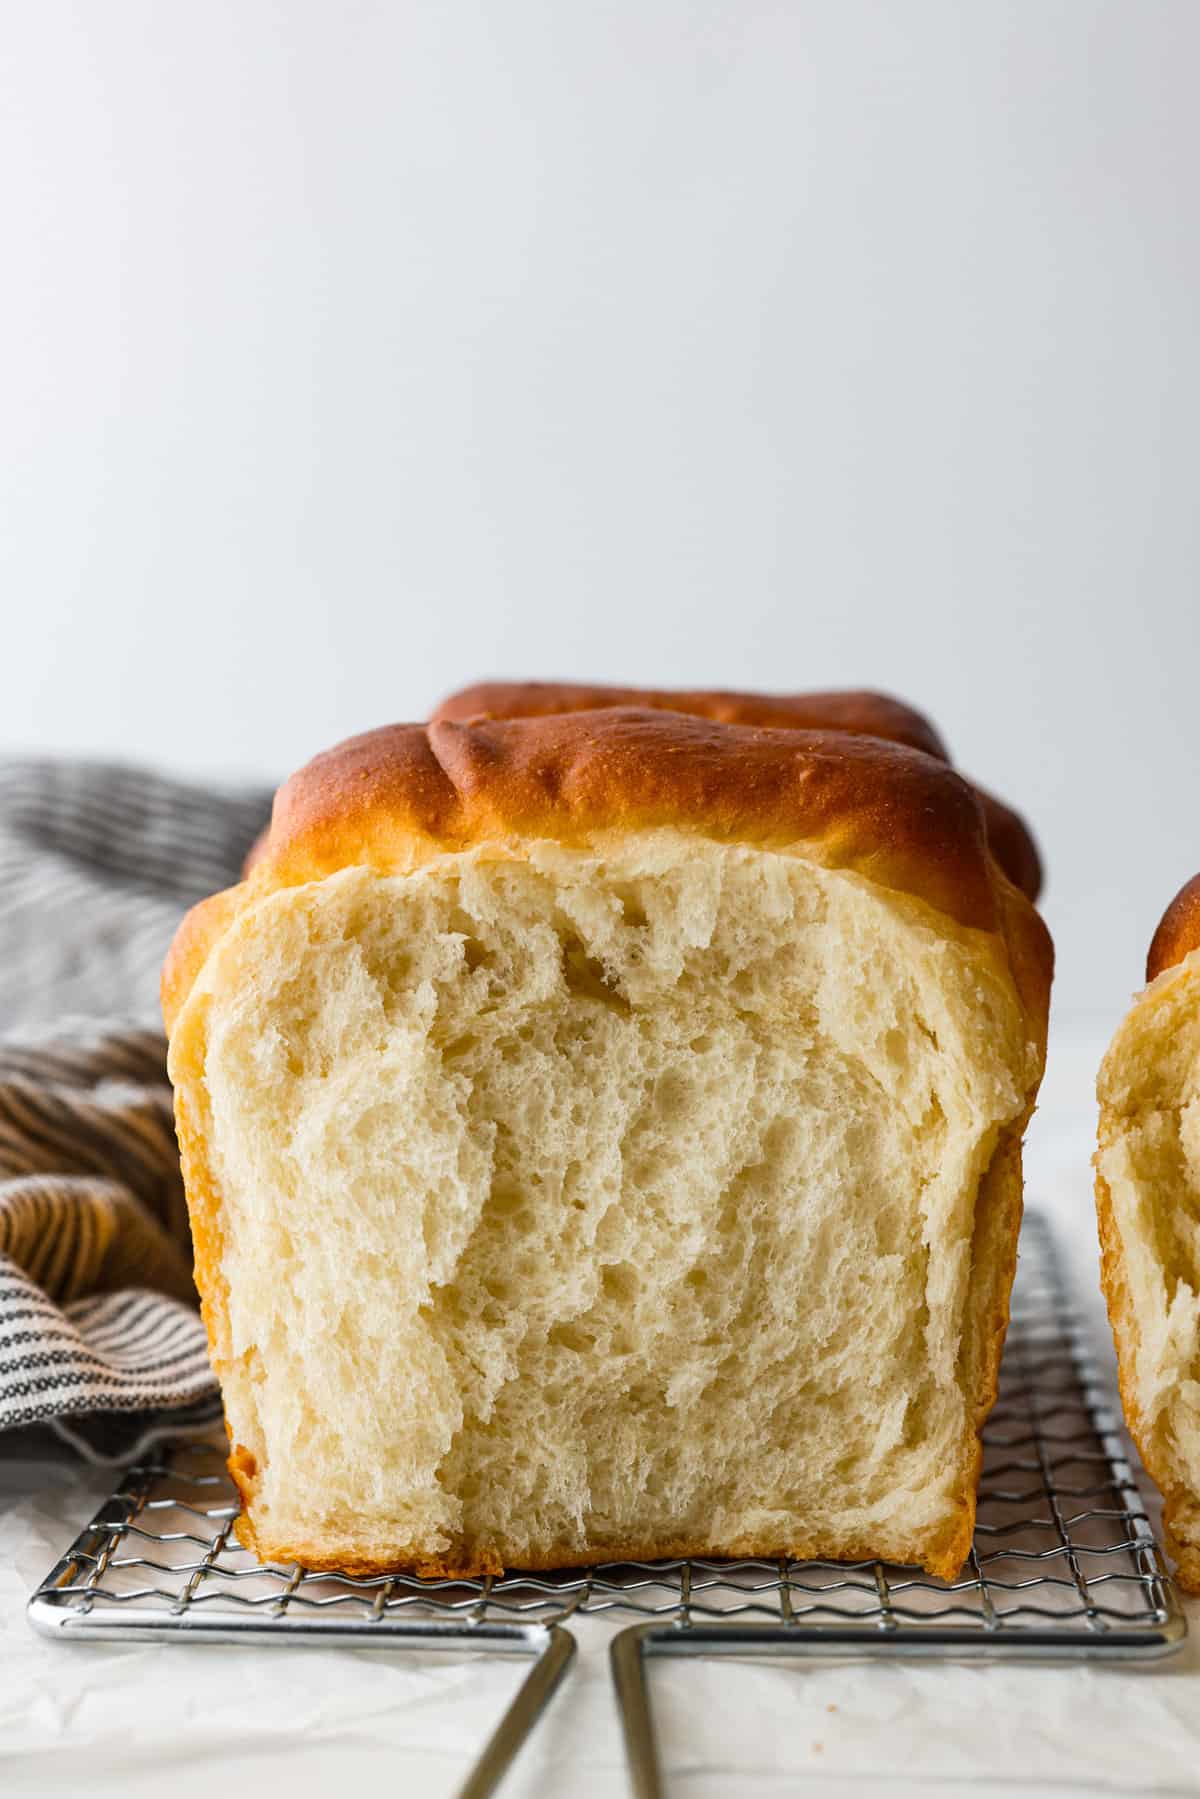
Baking bread is admittedly all about apply, the extra you do it at dwelling and experiment, the extra assured you’ll develop into. I like to recommend beginning with a easy homestyle loaf like my Grandma’s Excellent Selfmade Bread. With a bit work and a few endurance, you can be a bread-baking professional very quickly!!
Understanding the right way to make do-it-yourself bread is a really helpful talent! Bread is a kind of staple grocery objects you all the time have to have available. We love to make use of do-it-yourself bread for toast, sandwiches, and French toast! We even find it irresistible simply heat with my straightforward honey butter.
Primary Bread Substances
At its core, bread consists of 4 easy elements; flour, water, salt, and yeast. Working with yeast could be intimidating, however don’t you are worried! My Easy methods to Bake with Yeast put up is extraordinarily useful you probably have any questions!
- Water: The best temperature for the water or liquid in your dough is between 90-110 levels Fahrenheit. In case you are not sure, use a thermometer to check the temperature.
- Flour: Use all-purpose flour, entire wheat flour, bread flour, or entire wheat white flour.
- Salt: Provides taste and likewise tightens the gluten construction by including power to the dough and retaining the yeast from being too energetic.
- Yeast: For a easy bread recipe, I counsel utilizing a fast rise or energetic dry yeast.
Kinds of Flour For Bread Baking
The kind of flour you employ will decide how your bread seems. I clarify beneath how every kind of flour impacts the feel of your bread.
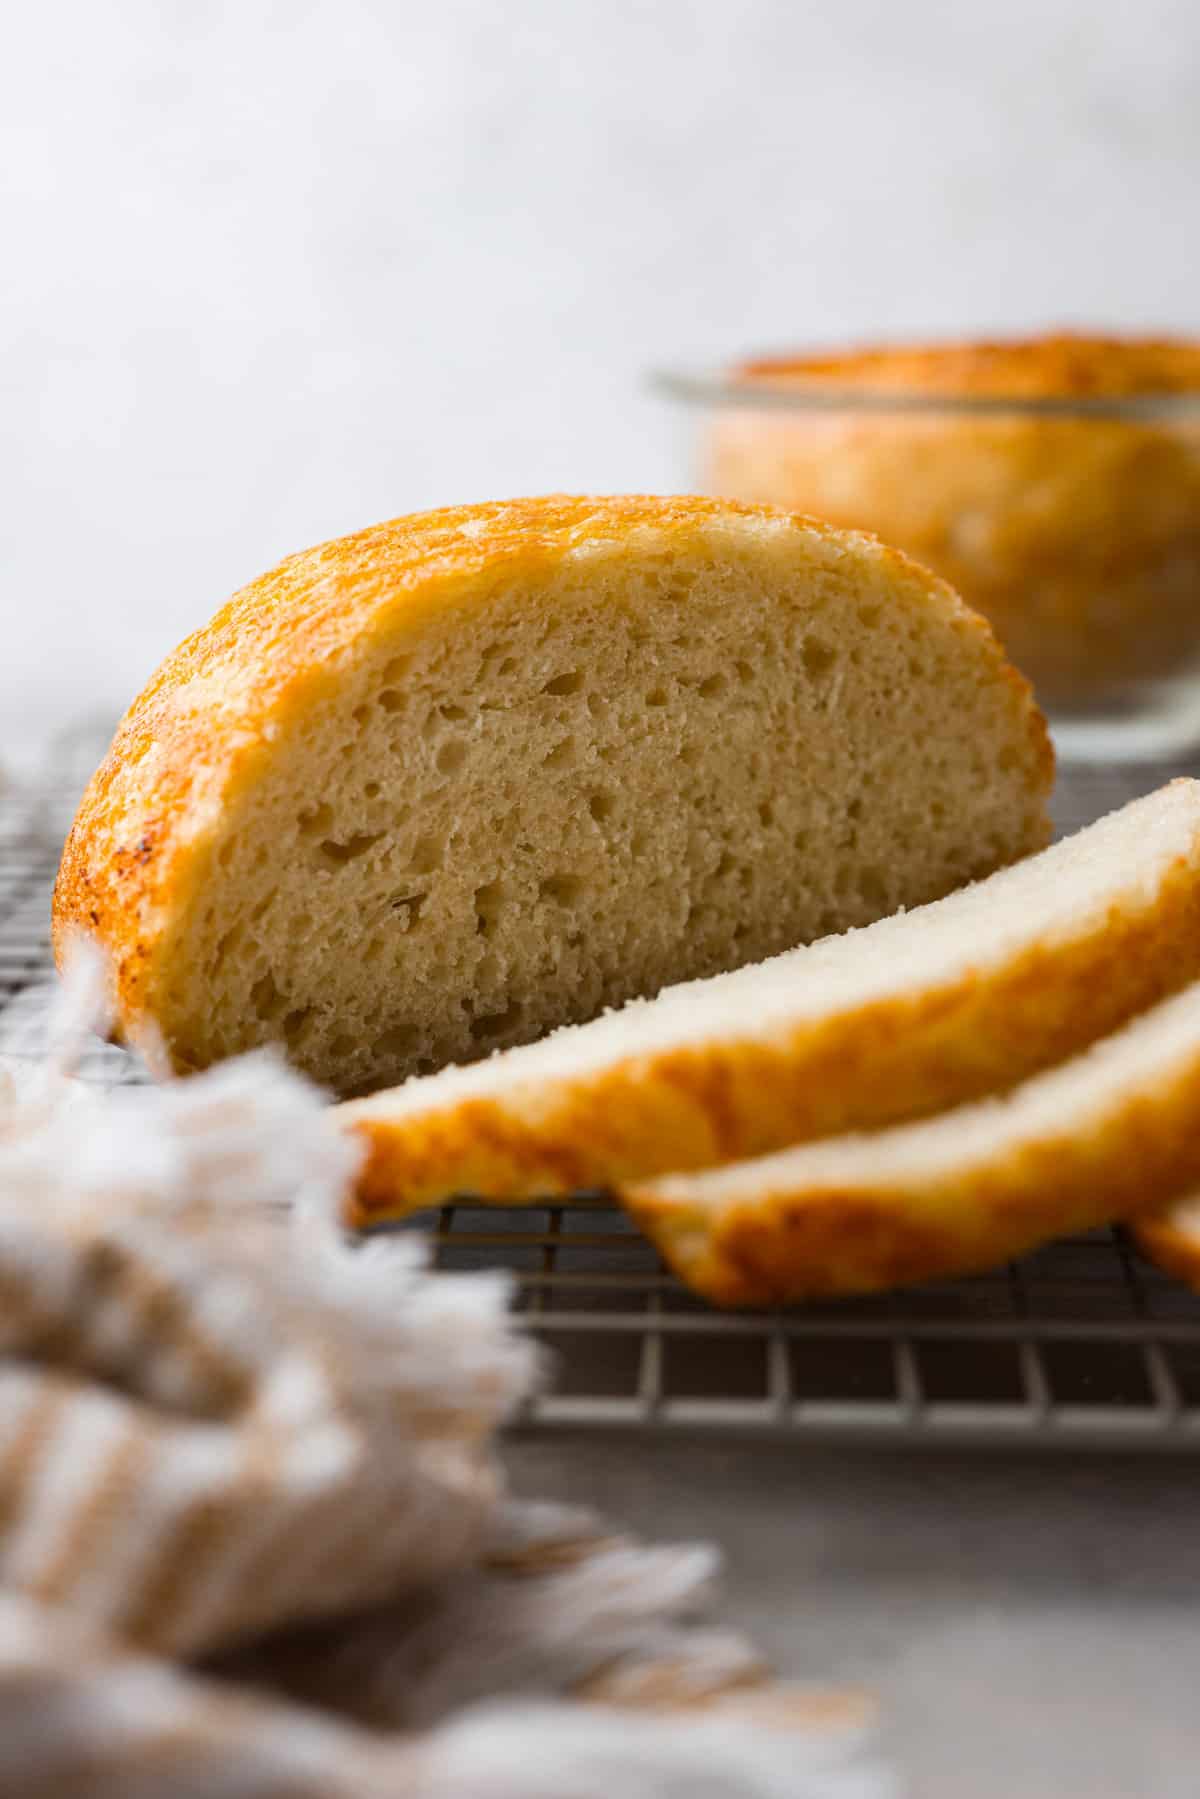
- Bread Flour: Bread flour is the best flour to make use of and it ensures a superb completed product! It’s particularly formulated to be filled with the vitamins the yeast must work its magic. Bread flour has extra proteins in it that make a giant distinction on the subject of growing sturdy gluten, making a sturdy texture.
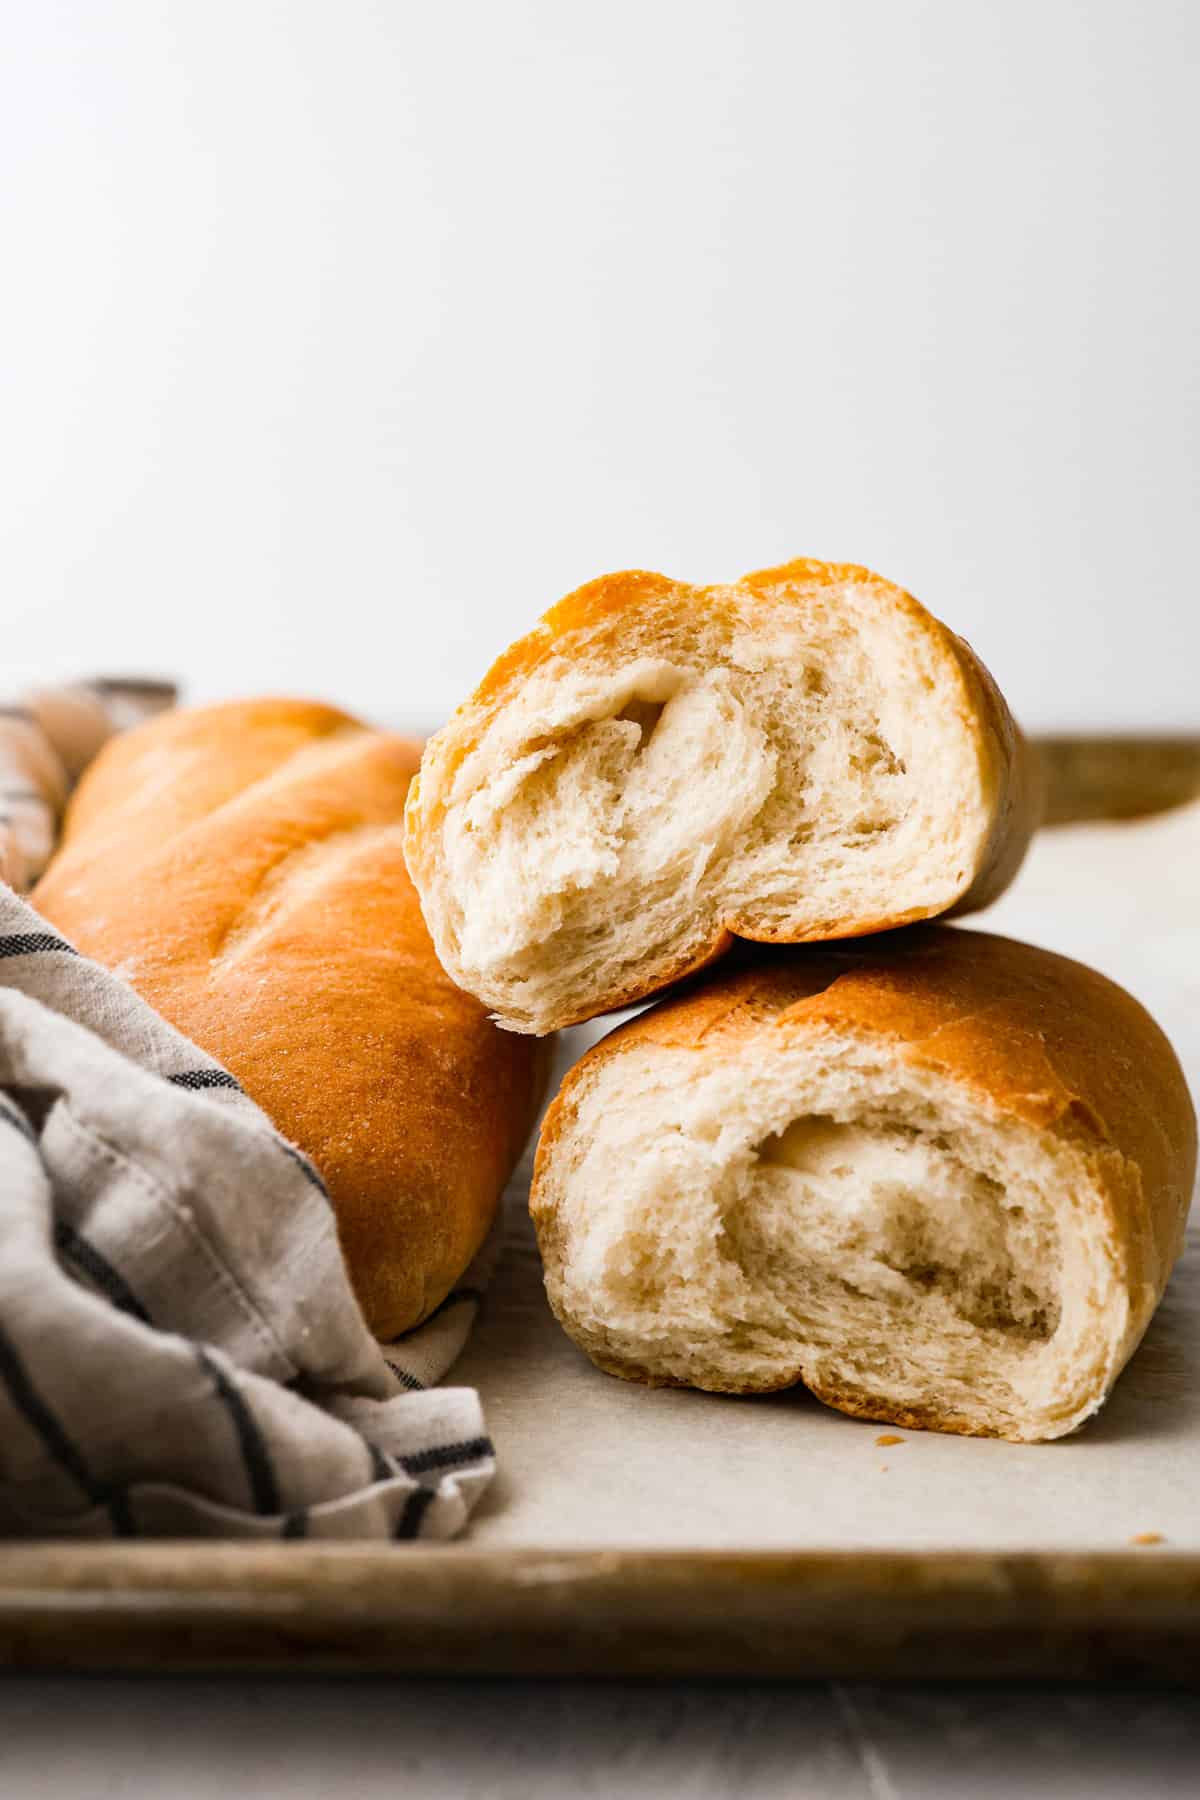
- All-Function Flour: All-purpose flour is the commonest flour to make use of for primary loaves. It’s straightforward to search out and is a tried and true flour time and time once more.
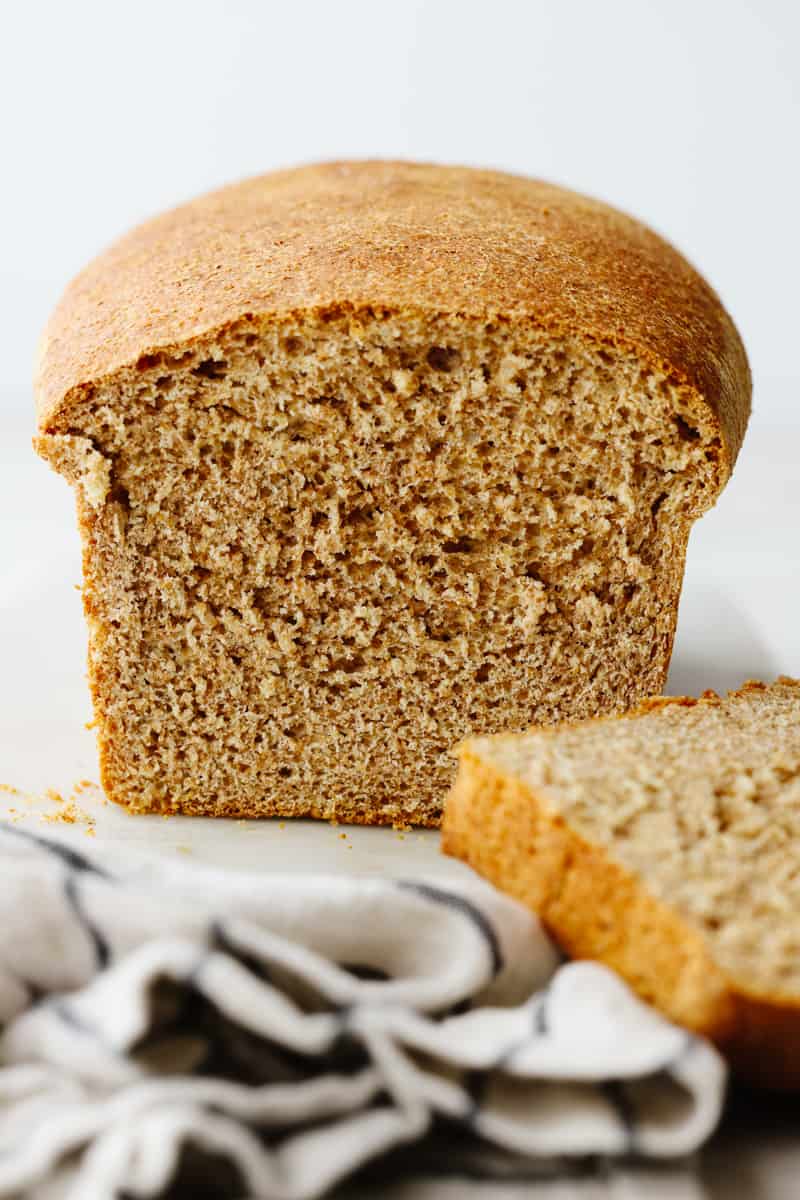
- Complete Wheat Flour: Complete wheat flour has the very best share of protein. Because it isn’t floor as finely as different flours, it usually makes a heavier texture, not as ethereal.
- White Complete Wheat Flour: White entire wheat is made out of white spring wheat, it’s lighter in shade, and nonetheless has a excessive protein share however is floor finer so it yields a lighter loaf than common entire wheat.

Easy methods to Make Bread
There are 8 widespread steps it’s worthwhile to know when making do-it-yourself bread! Some bread recipes can range, however a typical bread recipe may have the next steps. I stroll you thru each step with this newbie’s information to baking bread.
- Put together the Yeast: Activate the dry yeast by mixing it in a bowl of heat water (90-110 levels Fahrenheit) and sugar.
- Combine the Dough: Let’s combine the dough! I favor to include all my elements utilizing a kitchen support. As soon as the elements come collectively it’s time to knead the dough.
- Knead the Dough: You should utilize your stand mixer and the dough hook to knead the dough. Barely improve the velocity of the mixer and let it combine for a couple of minutes. That is my most well-liked methodology, however you may also knead the dough by hand. Check with my kneading directions on this put up to discover ways to knead by hand.
- First Rise: Bread dough wants time to relaxation and proof. Some loaves solely require one spherical of resting and proofing earlier than the ultimate form, however others would require a number of rounds of folding and resting. Relaxation the dough anyplace between half-hour to an hour till it has risen and doubled its unique measurement.
- Folding Dough: Folding the dough is one other technique to strengthen and work the gluten within the dough. Fold the dough after the primary rise. Dump it out onto a flippantly floured floor, stretch it in a single path, then fold it again on itself. Proceed across the dough stretching and folding at the very least 4 occasions. Place the folded dough again right into a bowl. Cowl it to proceed proofing it in case your recipe signifies you accomplish that. In case your recipe doesn’t name for folding, the dough is able to be punched and formed.
- Punch Down and Form Into Loaves: Punch the dough to deflate the air pockets. Now it’s time to form the loaves. In case you are utilizing a traditional loaf pan, form your dough into what is known as a batard, a small soccer form. When shaping your loaf, all the time make sure the seam is on the underside and the floor of the loaf is easy with none tears.
- Remaining Rise: As soon as your loaf is formed, it must relaxation and rise one final time. The dough ought to double in measurement earlier than you bake it. This may take anyplace from 45 minutes to an hour.
- Bake: Time and temperature will range relying on the loaf, however I discover it very useful to all the time hold a thermometer to check doneness. Virtually each loaf ought to attain an inner temperature of at the very least 190 levels Fahrenheit for it to be absolutely baked.


Easy methods to Knead Dough
I knew I wished to incorporate kneading directions on this newbie’s information to baking bread as a result of understanding the right way to knead dough could be intimidating. There are two sorts of the way to knead your dough. The simplest manner is within the stand mixer utilizing the dough hook. The stand mixer does all of the work. If you happen to don’t have a stand mixer, kneading could be finished by hand. Comply with my directions beneath that will help you with the kneading course of.
- Within the Stand Mixer: As soon as the elements come collectively, it’s time to knead the dough. I favor to include all my elements utilizing a kitchen support. At all times use the dough hook attachment. A whisk or paddle will beat the dough up an excessive amount of and shred the gluten strands as they attempt to type. Improve the velocity of the mixer and let it combine and knead the dough for a couple of minutes.
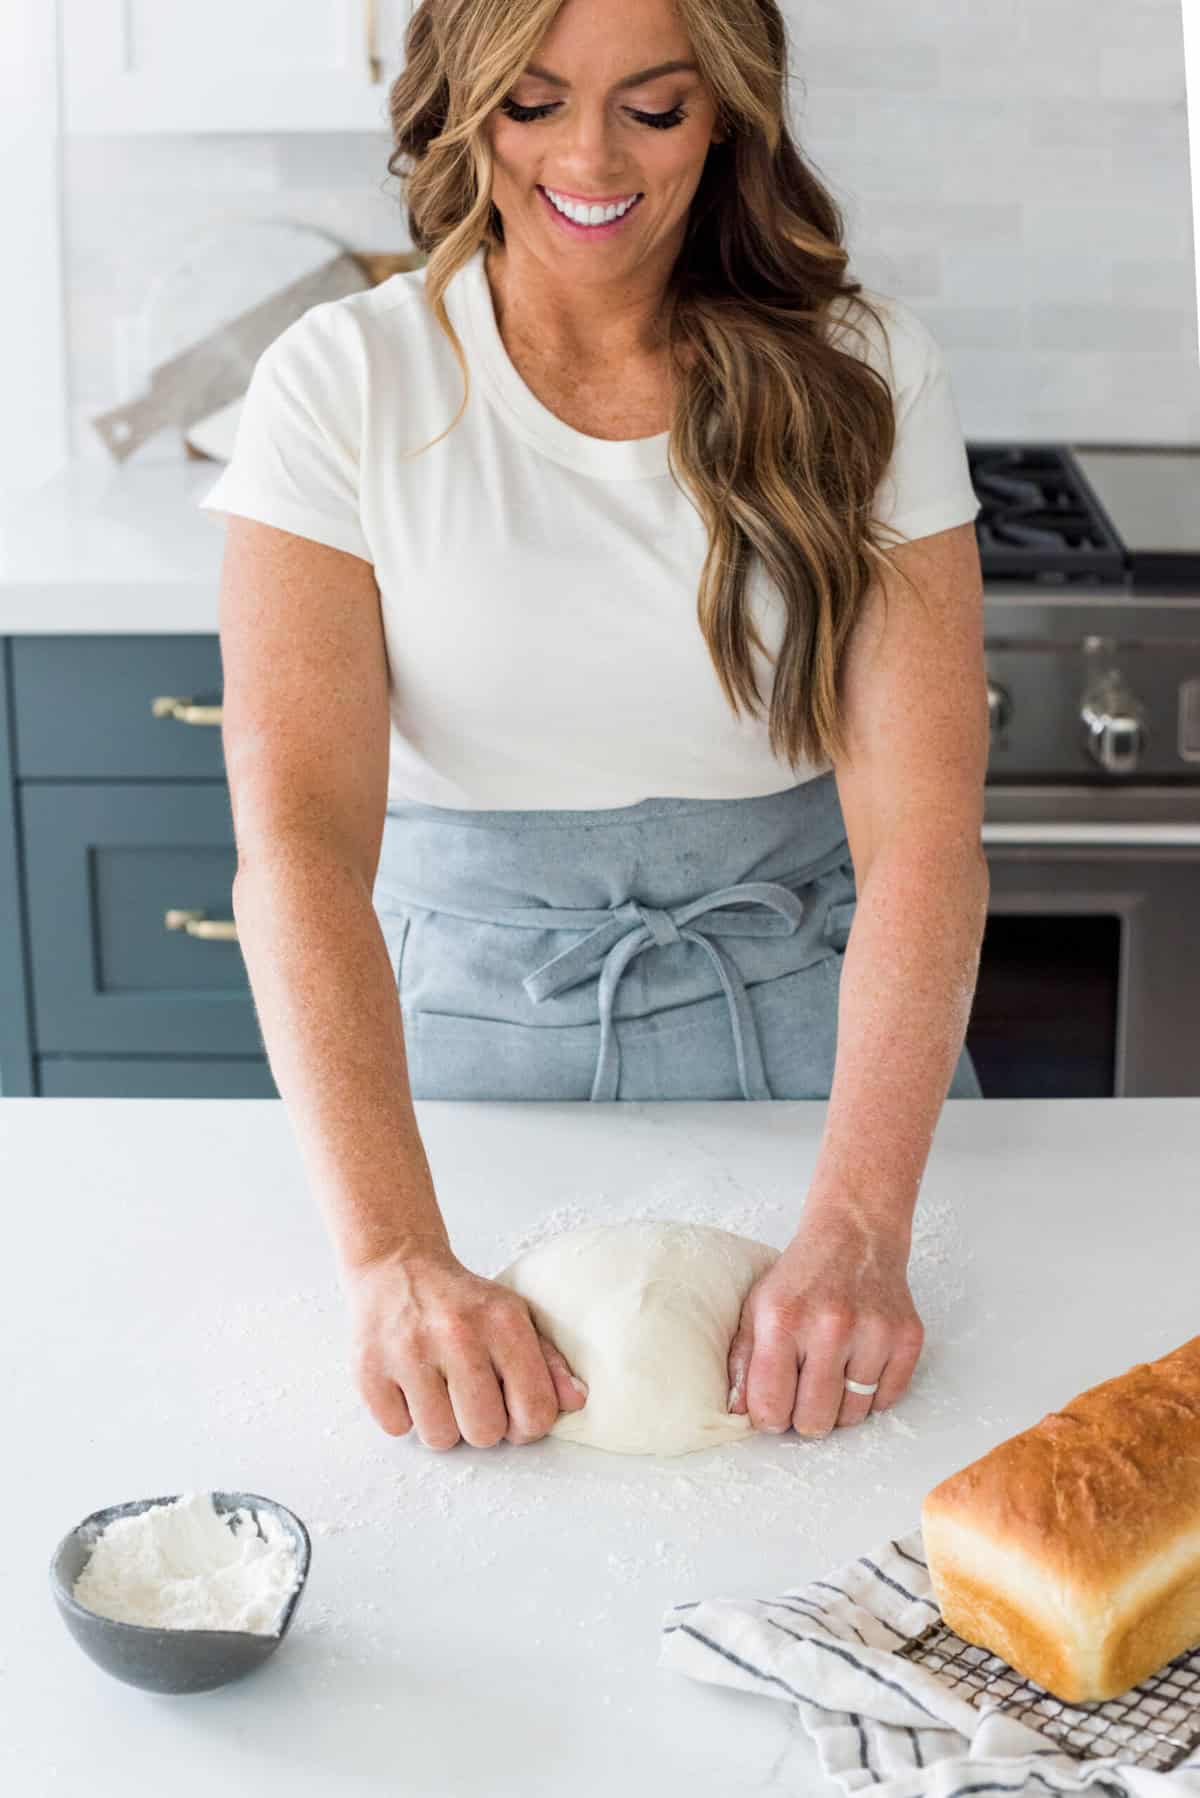
- Knead By Hand: Dump the dough onto a flippantly floured floor and work the dough along with your fingers to knead it. You’ll use the heels of your palms to softly push the dough away from you. Pull and stretch the dough again over itself towards you then push it again and away once more. Hold some flour close by to flippantly sprinkle or mud on the loaf and hold your fingers floured in order that they don’t stick an excessive amount of to the dough. You’ll work your dough a couple of minutes, usually about 4 minutes or extra till it stays collectively in a ball and develops a easy floor.

What’s the Proper Consistency of Bread Dough?
Let me allow you to discover the proper consistency in your bread dough! If you happen to discover the dough will not be pulling away from the perimeters of the bowl because the dough is mixing, then you’ll need so as to add in a bit additional flour. Add a few tablespoons at a time till the dough pulls away from the bowl and cleans the bowl.
- Sticky Dough: The dough shouldn’t keep on with your fingers an excessive amount of. It ought to be anticipated to be a bit sticky and you’ll need to flour your fingers and work floor till you could have developed the gluten within the dough.
- Poke Take a look at: You’ll know when a loaf is prepared by doing a poke take a look at. Calmly poking the loaf along with your finger ought to depart a really slight indentation, it could spring again barely, however it is best to nonetheless see the place you poked.


Climate Can Have an effect on Bread Baking
Do you know that the climate can have an effect on bread making? Particularly on a scorching or humid day! In case your dough is just too delicate or too sticky, it almost definitely is the climate and also you’ll want to regulate the flour quantity. Add 1/4 cup of flour at a time till it reaches the proper consistency. Additionally, yeast grows shortly in heat climate, so if it’s a scorching day the dough will rise sooner!
Suggestions For Baking Bread
Be affected person with your self when studying to make bread! Lots of issues can have an effect on the end result of your bread and I hope this newbie’s information to baking bread has helped! Under are some suggestions that you’ll find helpful as you apply baking bread.
- Yeast: Good yeast ought to look creamy and foamy as soon as it’s proofed. No matter the kind of yeast you employ, in case your water reaches temperatures of 120°F or extra, the yeast will start to die off.
- Below-Proofed VS. Over-proofed: Calmly poke the dough along with your finger, if a deep indentation is left your loaf is probably going over-proved, if the dough bounces again and continues to be tight it’s under-proofed.
- Room Temperature: The hotter the room temperature is in your house, the faster the bread will rise.
- At all times Use the Dough Hook: When utilizing a stand mixer, use the dough hook attachment. A whisk or paddle will beat the dough up an excessive amount of and shred the gluten strands as they attempt to type.
- Clear Bowl: Dough ought to pull free from the mixer. As soon as the dough comes collectively and leaves the bowl trying clear, then your dough is prepared!
- Easy methods to know if the bread is absolutely cooked: To know in case your bread is absolutely baked, use a meals thermometer. A totally baked loaf might be about 190 levels Fahrenheit. The highest of the bread ought to be a lightweight golden brown shade.
- Serrated Knife: A serrated bread knife is the BEST knife to completely slice your bread.

Storing Selfmade Bread
Now that you simply efficiently made bread with this newbie’s information to baking bread, let’s retailer the leftovers! Listed here are my suggestions for storing bread on the counter, within the fridge, and within the freezer! Freeze an additional loaf or two for meals storage.
- At Room Temperature: Place the loaf of bread or sliced bread in a ziplock bag or hermetic container. Ensure to seal it tightly, so air doesn’t get into the bag and dry it out. Retaining the bread unsliced till you might be able to eat is greatest. The bread ought to final about 5-7 days.
- Within the Fridge: Storing the bread in an hermetic container within the fridge will final about 7-9 days.
- Within the Freezer: Bread freezes nicely, so I all the time make an additional loaf or two! Retailer it in an hermetic container within the freezer for 2-3 months. Let it thaw in a single day within the fridge earlier than serving.
Extra Bread Recipes to Strive